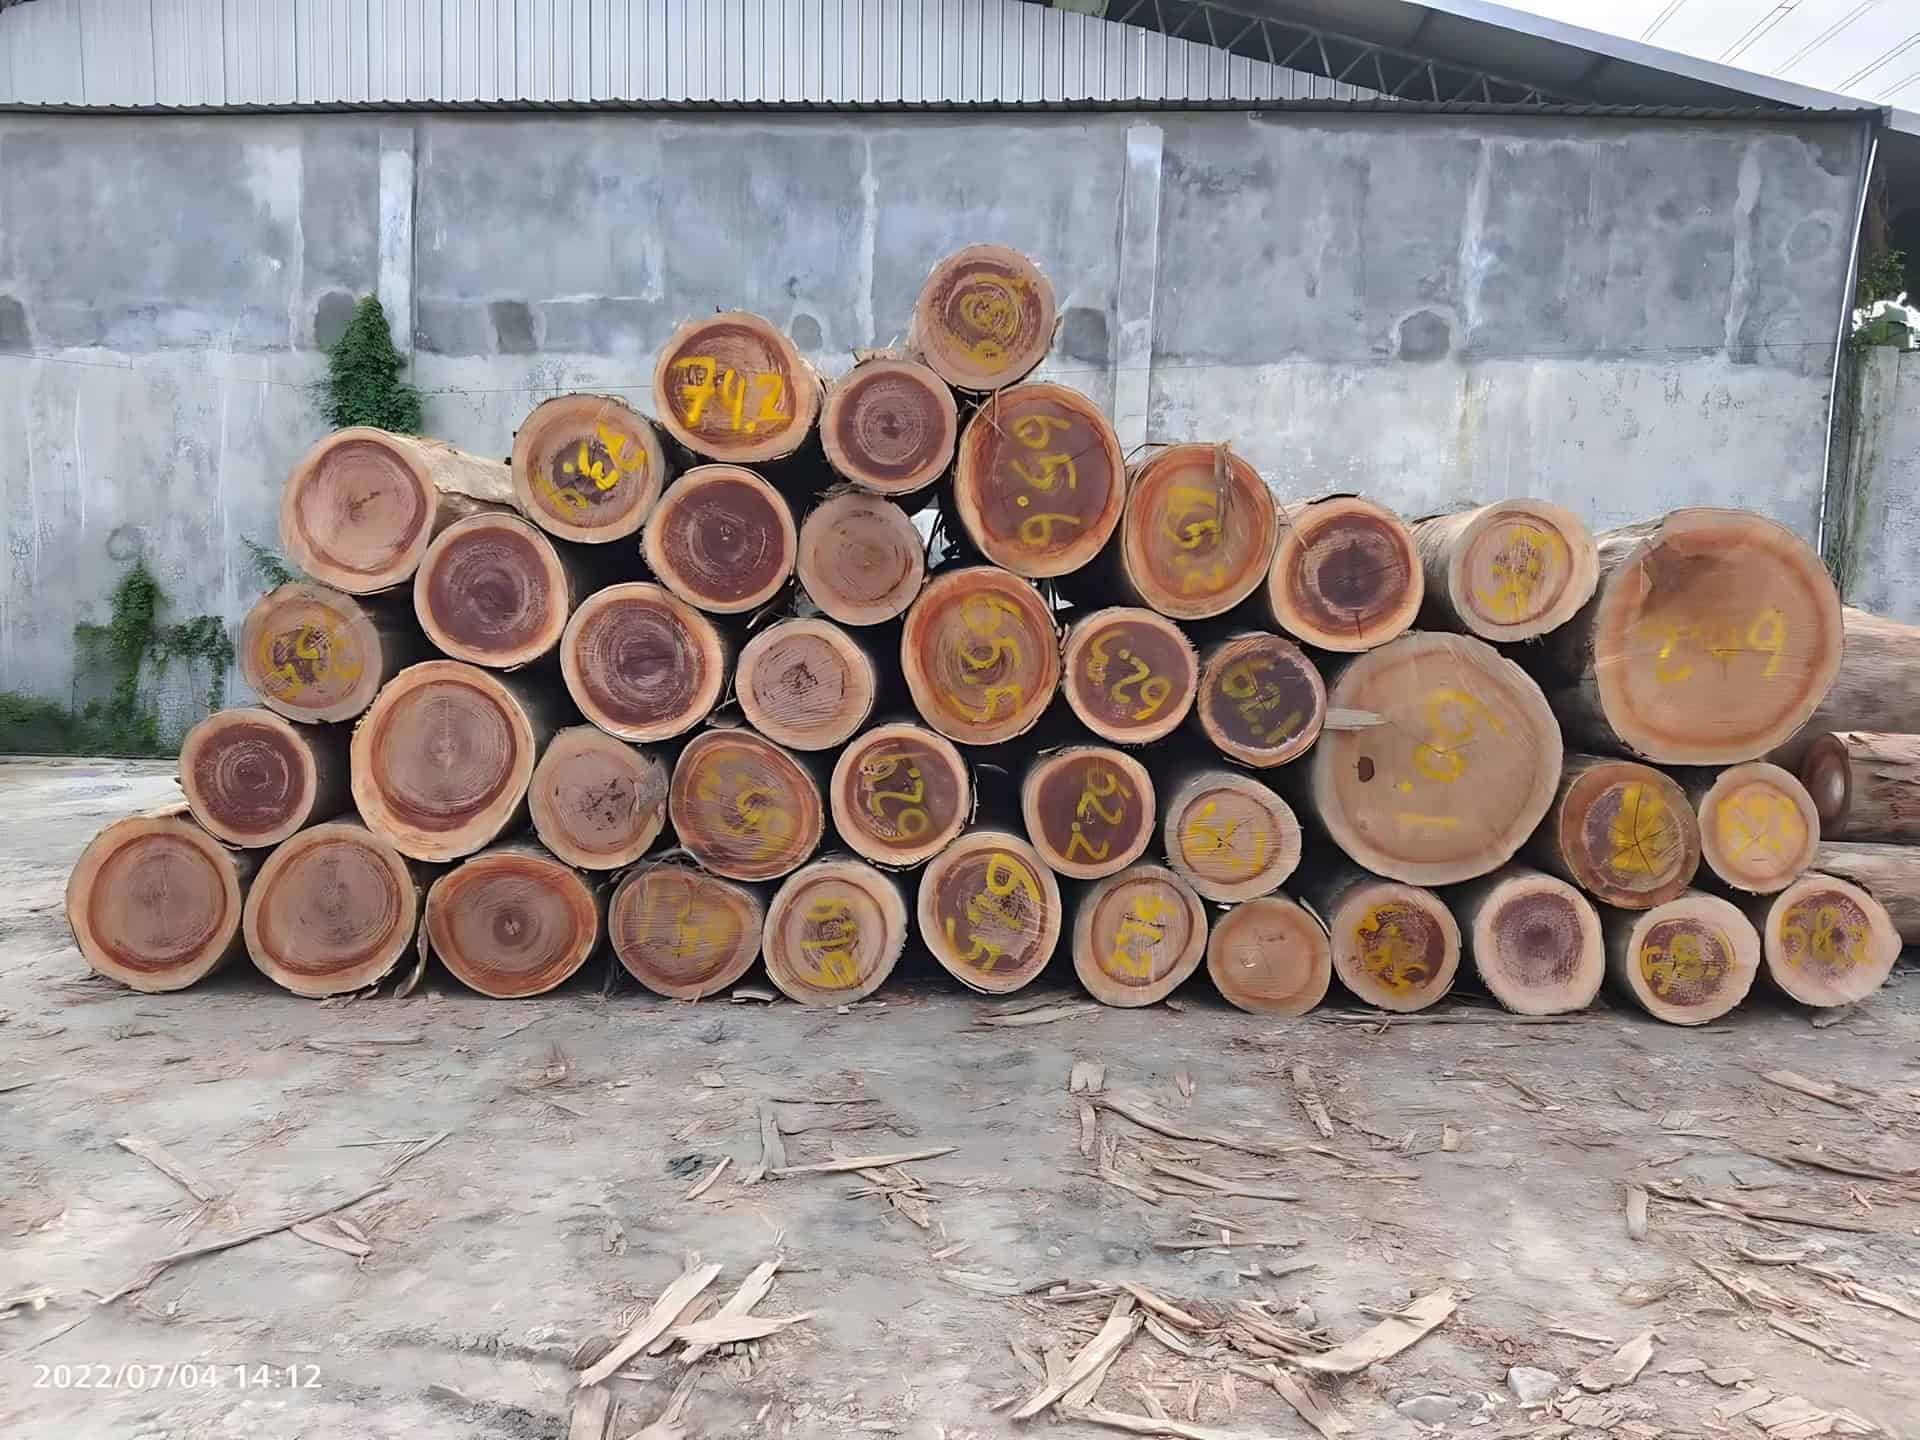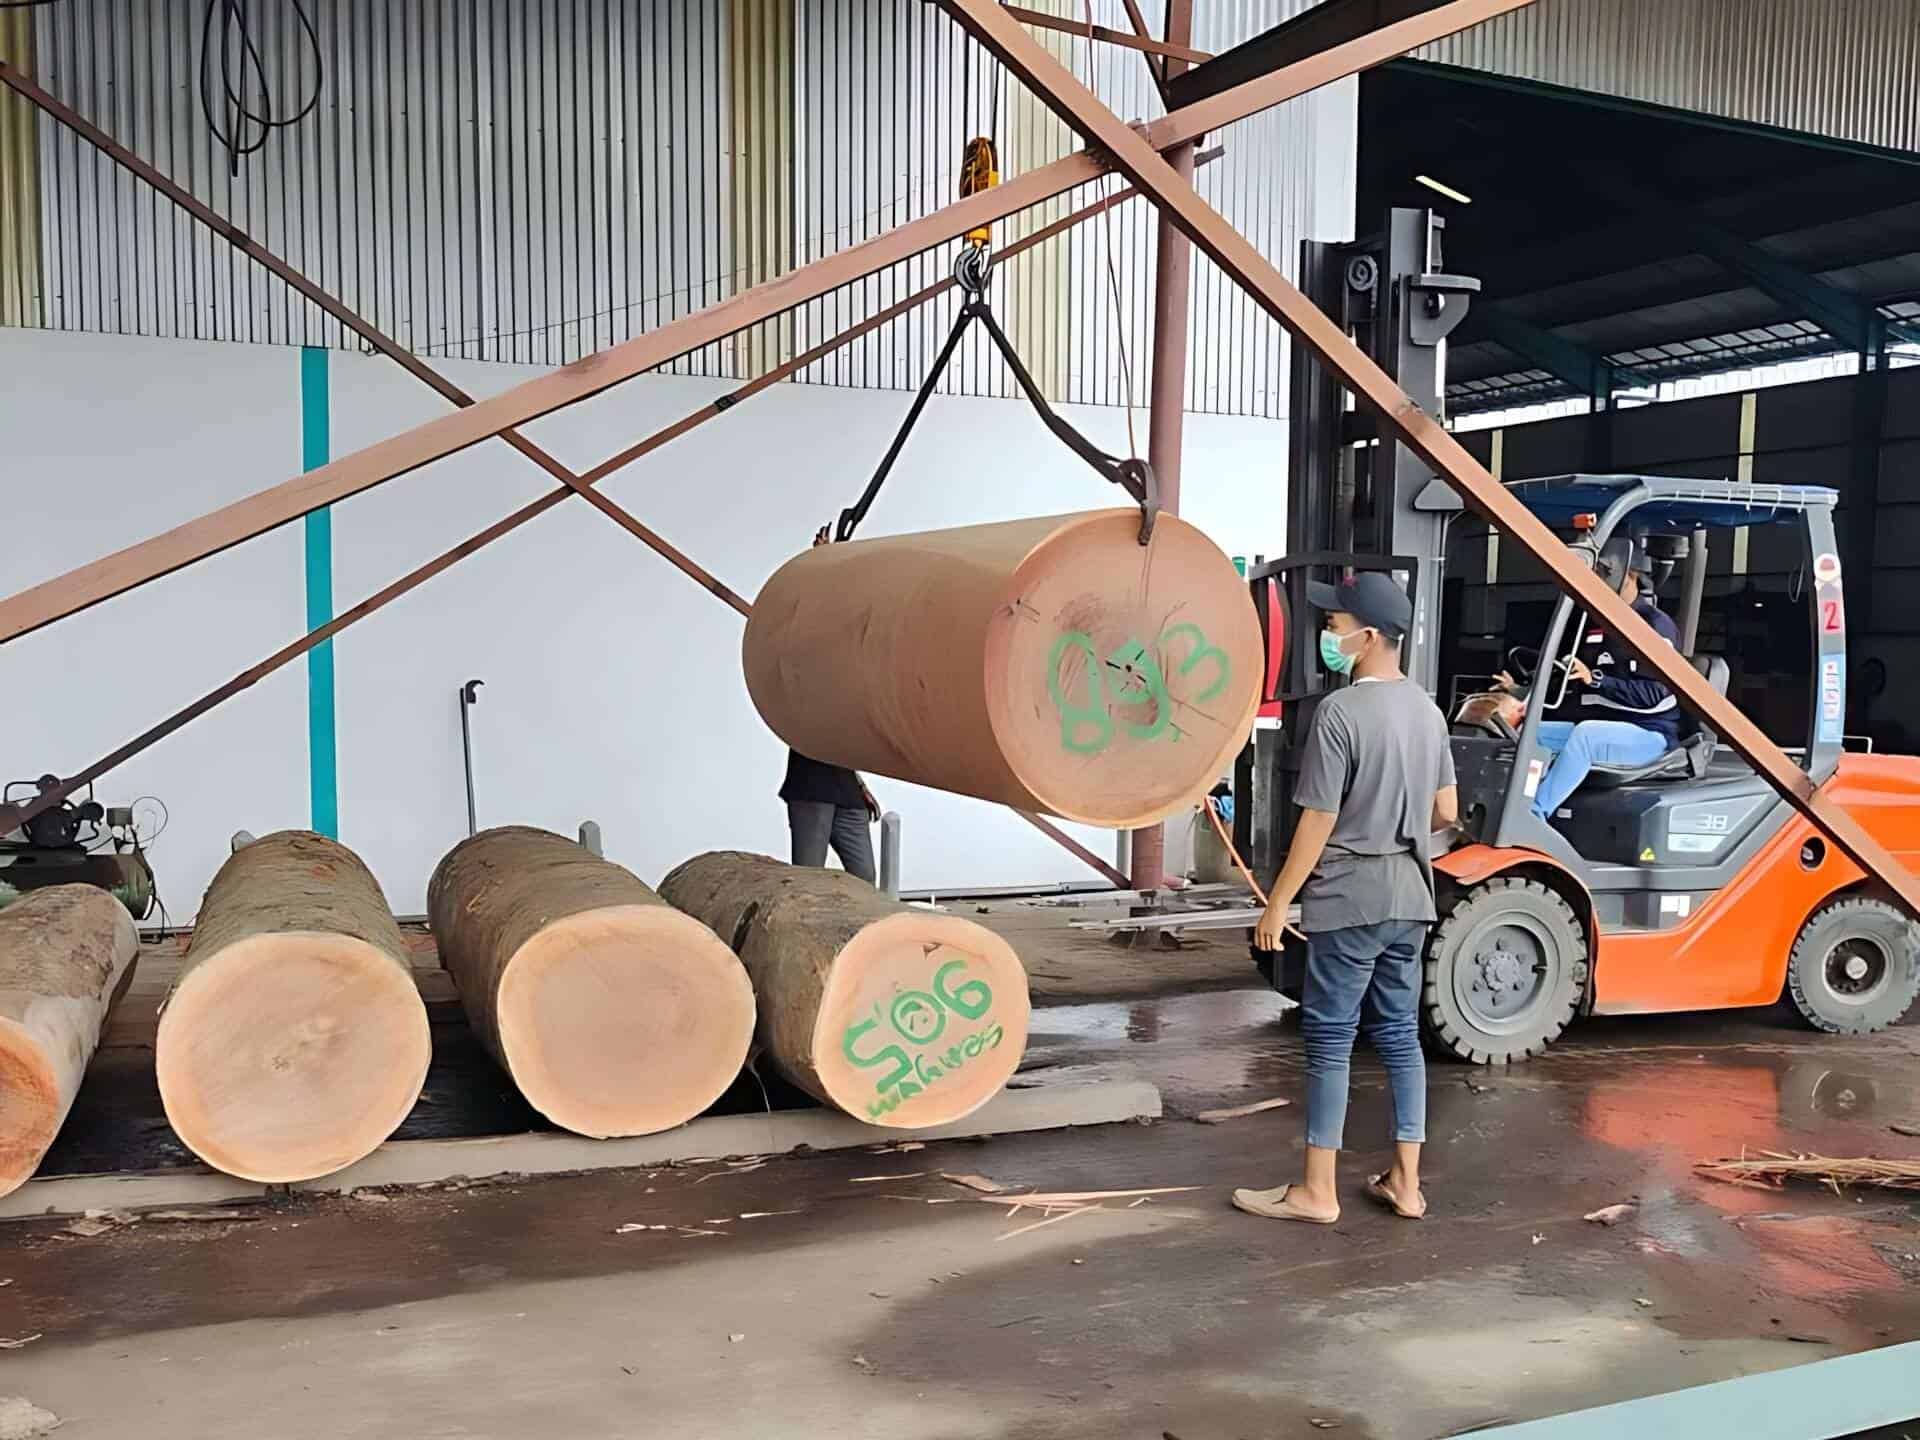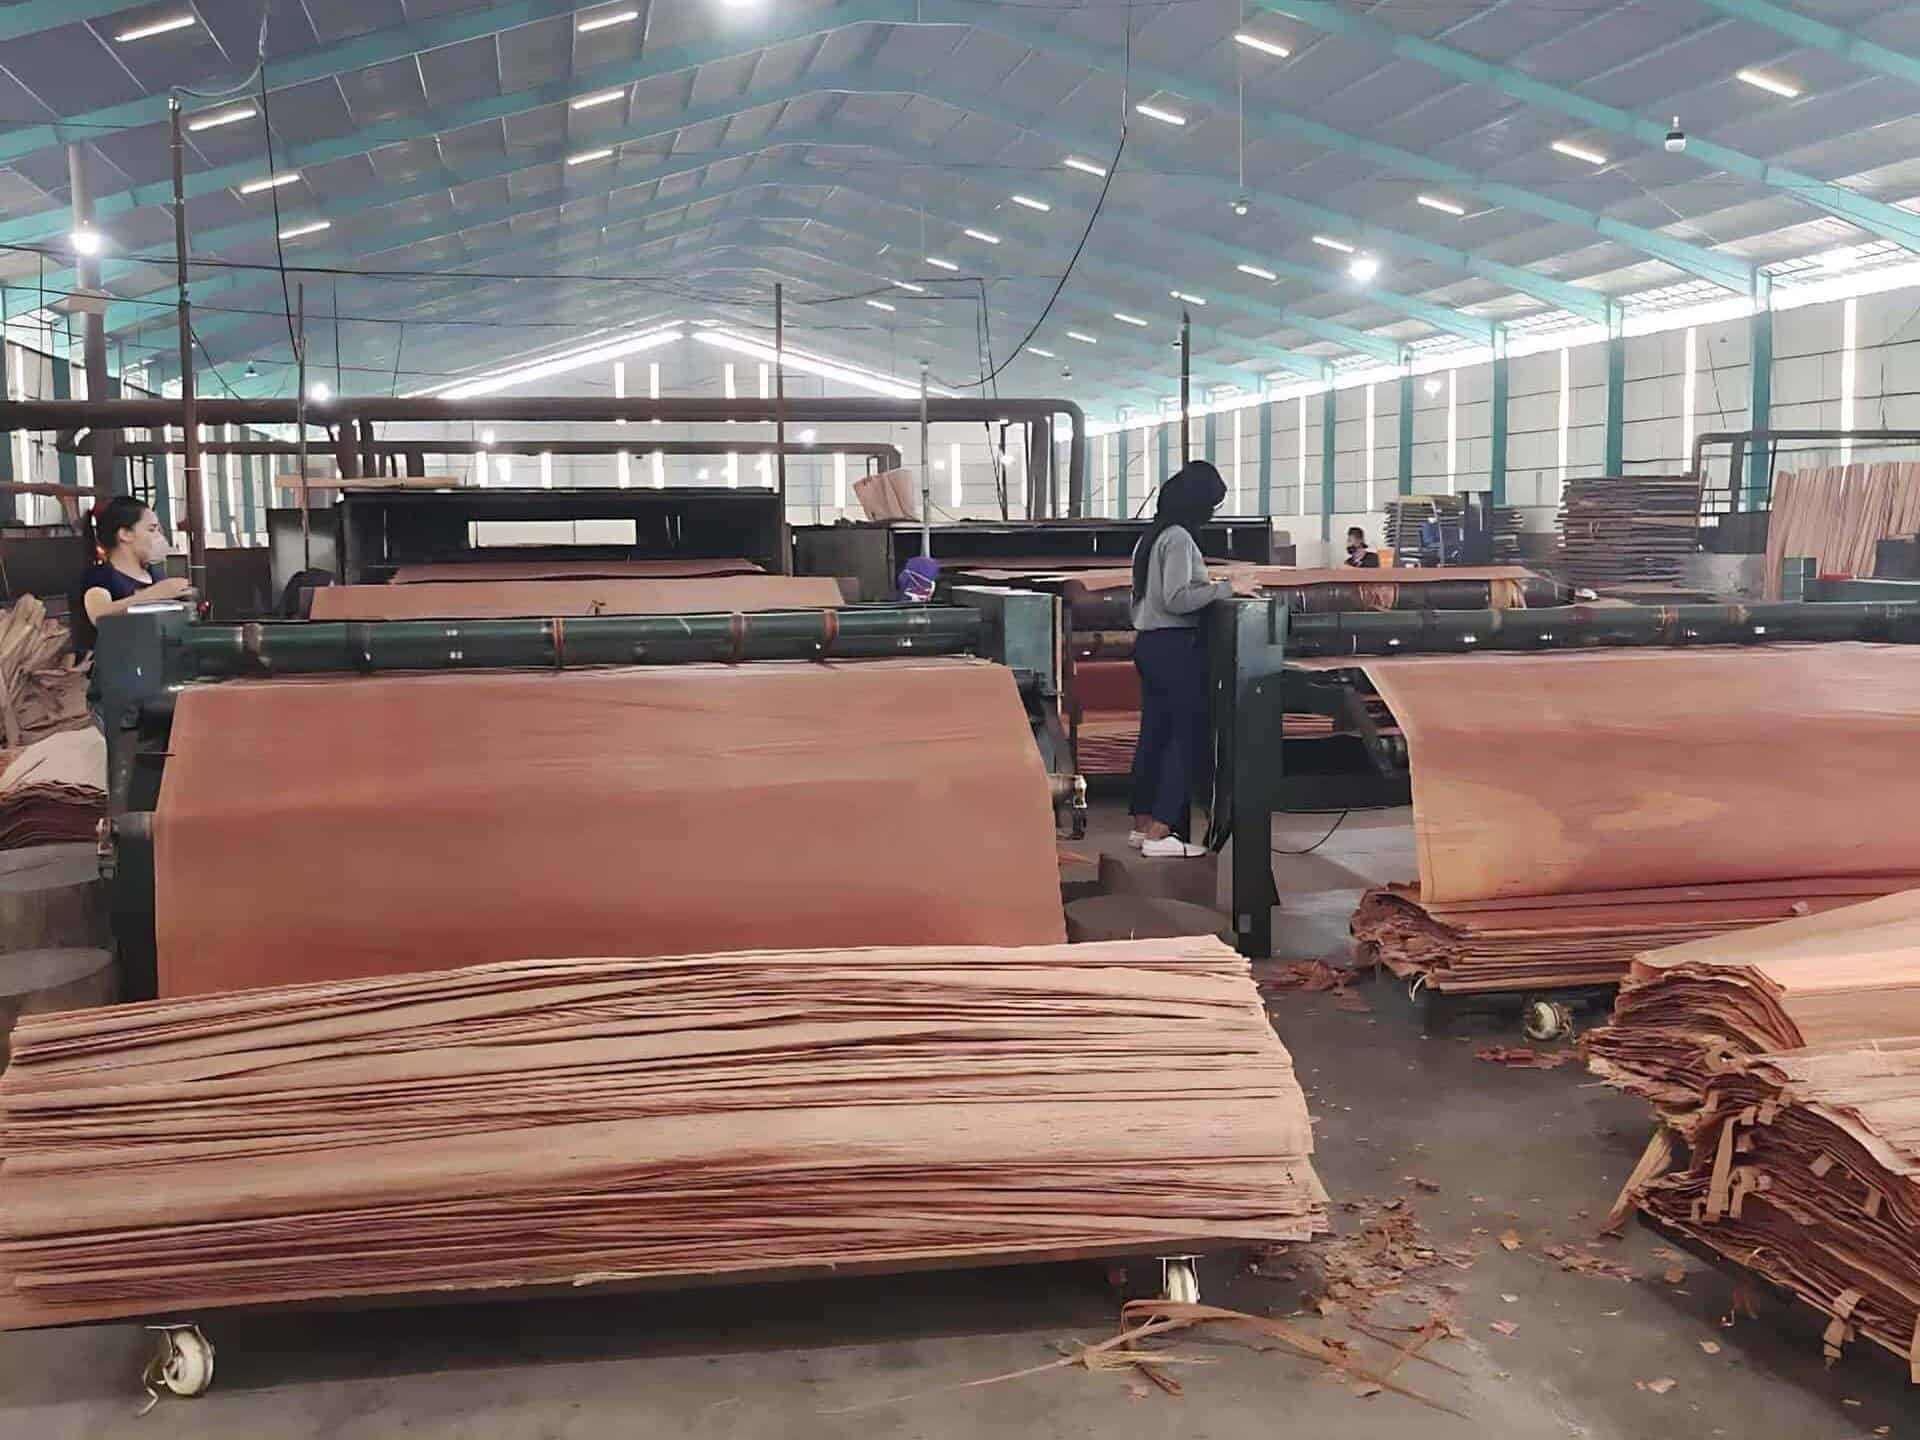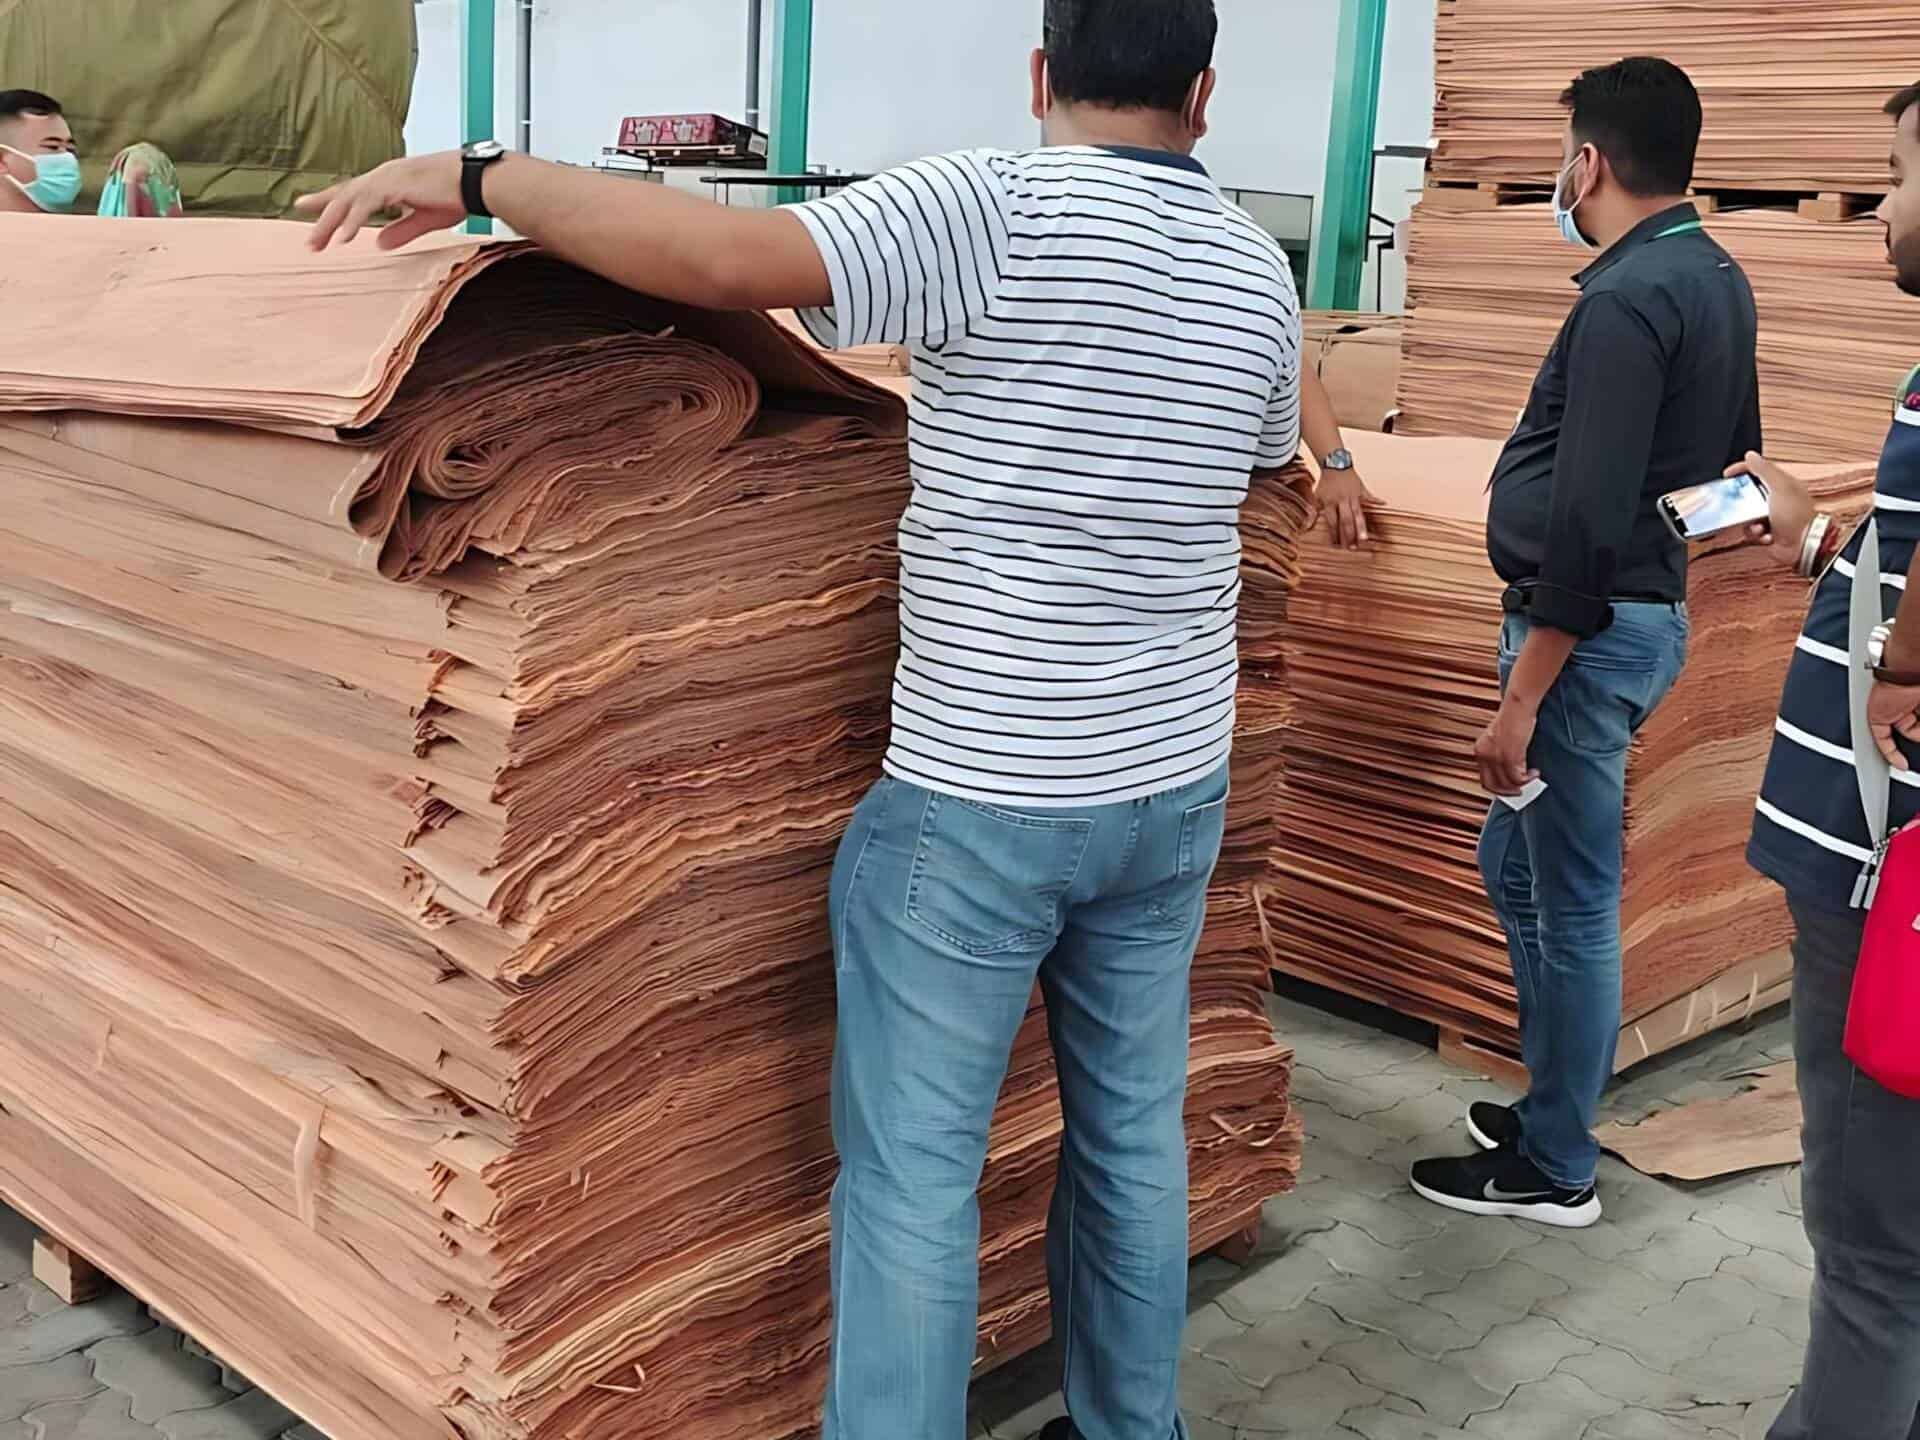
Wood veneer is widely used in various construction and interior design applications. It provides the natural and aesthetic appearance of solid wood but with a more affordable price and material efficiency, making it a popular choice for furniture, wall panels, doors, and various decorative elements. To ensure proper use of veneer in construction, here is a comprehensive guide:
Understanding Types of Veneer
Natural Wood Veneer: Made from thin layers of wood cut directly from logs. This type of veneer offers the beauty and uniqueness of natural wood grain.
Engineered Veneer: Also known as reconstituted veneer, is made from processed wood fibers engineered to create uniform patterns and colors. This veneer is more consistent in appearance and often more affordable.
Preparation and Selection of Veneer
Choosing the Right Veneer: Match the veneer choice with your project needs in terms of aesthetics and functionality. Consider thickness, color, and grain patterns to achieve the desired result.
Checking Quality: Ensure that the selected veneer is free from defects like cracks, holes, or inconsistent colors, especially for large and visible surfaces.
Tools and Materials Required
Tools: Veneer cutter, ruler, knife, sander, and press tools.
Materials: Veneer, wood glue (PVA or contact glue), base boards (MDF, plywood, or solid wood), and finishing products such as varnish or paint.
Veneer Application Process
Surface Preparation: Ensure that the base surface to be veneered is flat, clean, and free from dust or debris. Uneven surfaces can cause bubbles or wrinkles in the veneer.
Cutting Veneer: Cut the veneer slightly larger than the surface to be covered. This will facilitate adjustment and trimming after application.
Applying Glue: Apply glue evenly on both the veneer surface and the base surface. Use glue that is compatible with the type of veneer and base surface.
Bonding and Pressing: Carefully adhere the veneer to the base surface to avoid air bubbles. Use a press or roller to press the veneer firmly. Ensure even pressure to prevent areas from not adhering properly.
Drying and Trimming Excess: Allow the glue to dry completely according to product instructions. After drying, trim the excess veneer using a sharp knife or veneer cutter.
Finishing
Sanding: Once the veneer is securely bonded, smooth the surface with fine sandpaper to remove sharp edges and prepare the surface for finishing.
Applying Finishing: Apply a finishing layer such as varnish, paint, or wood oil to protect the veneer and enhance its appearance. Finishing also helps improve veneer resistance to moisture and scratches.
Care and Maintenance
Routine Cleaning: Clean veneer regularly with a soft, slightly damp cloth to remove dust and dirt. Avoid harsh cleaners that may damage the veneer surface.
Avoiding Moisture: Veneer is sensitive to high moisture levels, so ensure that veneered furniture or construction elements are not exposed to direct water. Use coasters or protectors to prevent stains from wet items.
Repairs: For damage such as scratches or cracks, veneer can be repaired by sanding and reapplying finishing. For more severe damage, a new veneer layer may need to be applied.
Special Applications in Construction
Wall Panels: Veneer is often used for decorative wall panels. Ensure that the panels are well-installed and protected from heavy impacts to maintain their appearance.
Doors and Cabinets: Veneer on doors or cabinets provides an elegant wood look at a lower cost. Ensure that the edges of veneer on doors are well-protected from moisture to prevent delamination.
Custom Furniture: Veneer offers flexibility in custom furniture design. Use different veneer patterns to create visually appealing effects on tables, chairs, or shelves.
Conclusion
Using veneer in construction and interior design requires a good understanding of the material, from selection and application to maintenance. By following the above guide, you can ensure that your veneer projects will not only look beautiful but also be durable and functional. Investing time and attention in each step will result in a satisfying and high-value outcome.
Related Posts
PT Golden Way Forestindo at the Indonesian IFMAC WoodMac Exhibition
Introduction PT Golden Way Forestindo proudly participated in the recent IFMAC WoodMac Exhibition in Indonesia,…
Tips for Choosing High-Quality Wood Veneer for Your Project
Providing practical guidance on selecting high-quality wood veneer according to your project needs.
Differences Between Natural Wood Veneer and Engineered Veneer
The main differences between natural wood veneer and engineered veneer in terms of origin, appearance,…
Meranti Veneer: The Perfect Choice for Luxurious Interior Design
Meranti veneer as an ideal choice for creating luxurious and durable interior designs.


